

How To Delete Printer From Phone
Often you volition demand to remove and reconnect your printer for troubleshooting purposes. Other times, removing old and unused devices helps y'all keep your connected device listing organized in Windows 11 and 10.
You can remove any continued printer from the Settings panel. If that does not work, y'all can utilise the Command Prompt and other means to remove the printer. Here we show you the many ways to delete a printer on Windows computers.
1. How to Remove a Printer From Windows via the Settings
Yous can easily add or remove printers from the Settings. Here'due south how to do it.
- Press Win + I to open up Settings.
- Open up the Bluetooth & devices tab in the left pane.
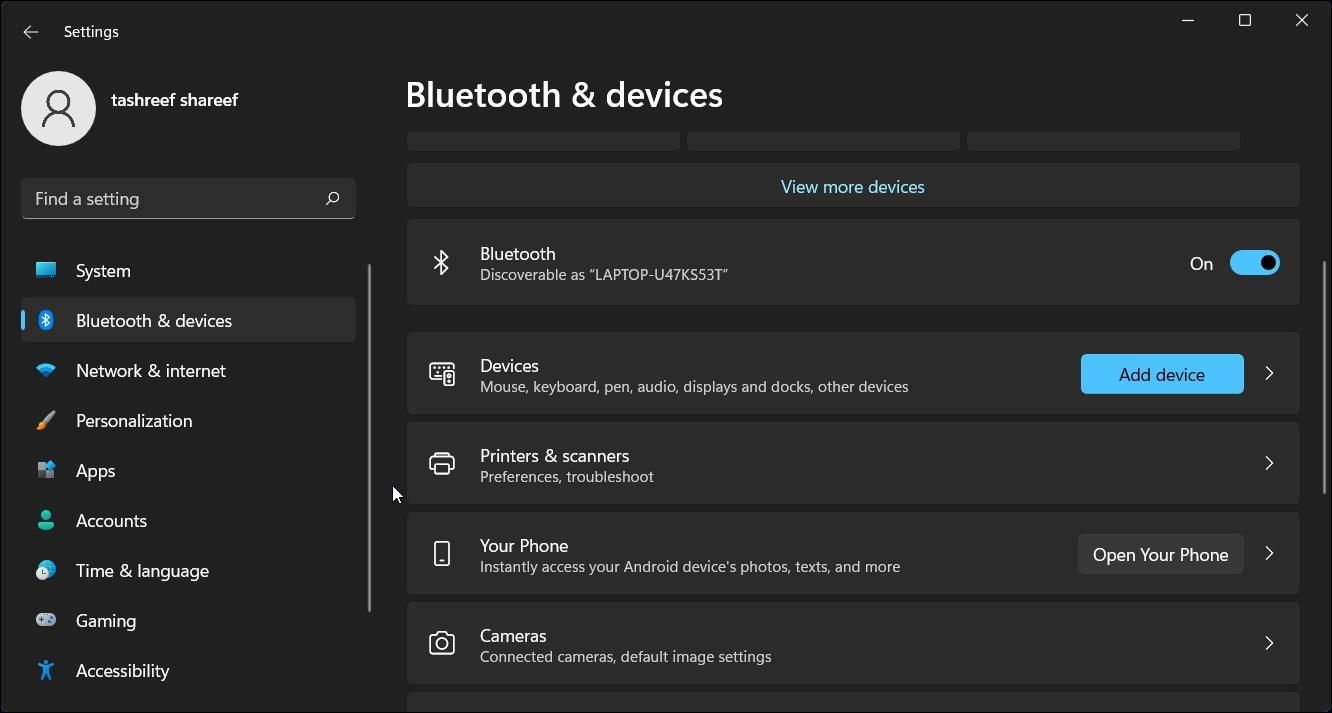
- Whorl downwardly and click on Printers & scanners. This will list all the printers connected to your figurer.
- Next, click on the printer device that y'all desire to remove.
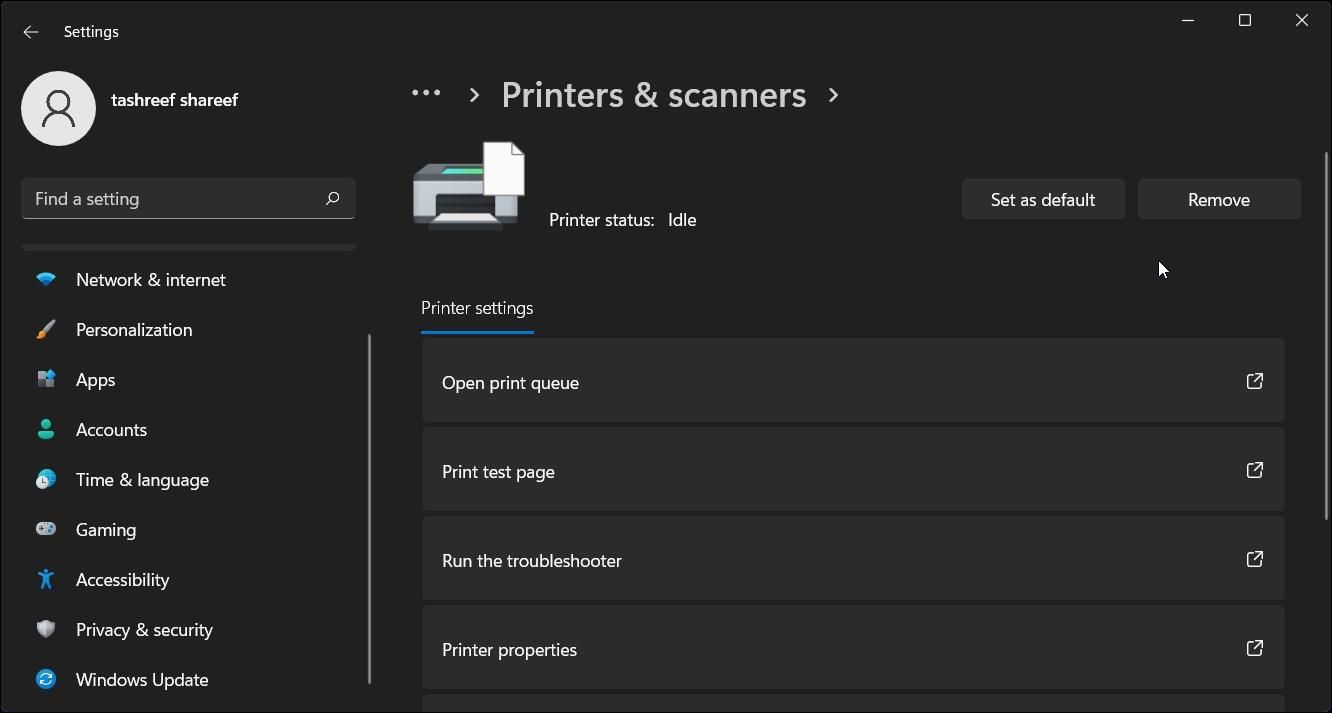
- Click the Remove button in the top right corner and click Yes to confirm the action.
2. Removing the Printer Software to Delete the Printer
If the deleted printer yet shows upwards, you can remove the printer driver associated with the device to uninstall it completely. You can remove the driver using the Apps & feature tab in Windows 10 and 11.
To remove the printer drivers:
- Press Win + I to open Settings.
- Click on the Apps tab in the left pane. The app listing may have a few seconds to populate, so wait till all the apps are listed.
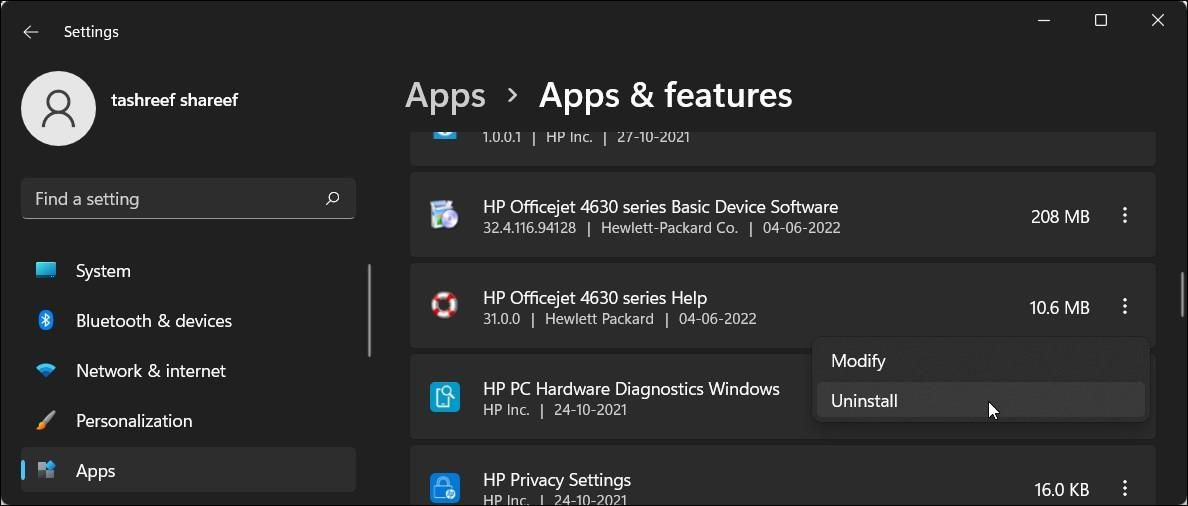
- Under the App list, y'all tin can curl through or search for the printer driver.
- When you find the printer driver, click the three-dots menu.
- Select Uninstall and then click on Uninstall again to ostend the action.
- Wait for the commuter to uninstall, so look for whatever other drive or software associated with the printer and remove them as well.
- Once uninstalled, restart your PC.
three. How to Remove the Printer Using the Control Panel
You can use the archetype Command Panel to manage your printer. Useful if the printer wasn't removed correctly during the uninstallation process.
To remove the printer using Control Panel:
- Press Win + R to open Run.
- Blazon control and click OK to open up Control Panel. You tin also search for the app using the Windows search bar.
- In Command Panel, go to Hardware and Sound.
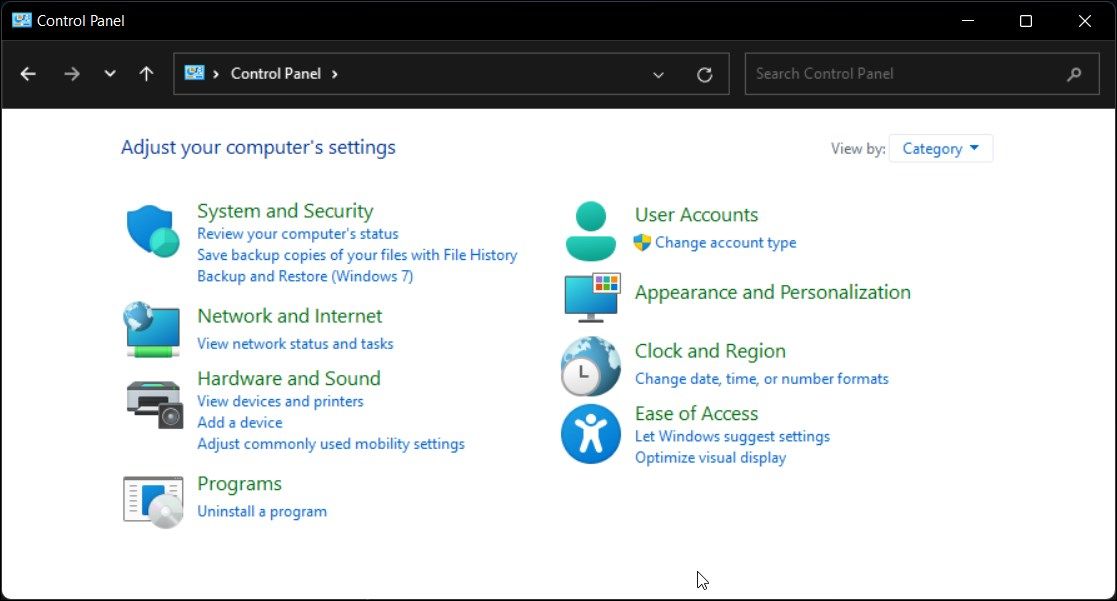
- Next, click on Devices and Printers.
- Under the Printers department, locate and select the printer device yous want to remove.
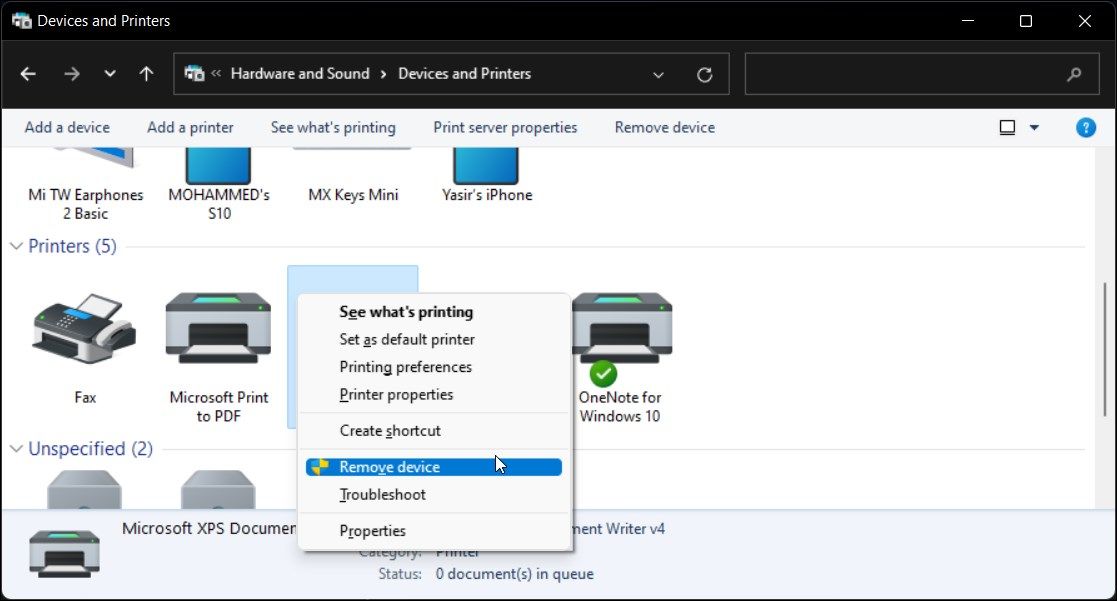
- Correct-click on the printer and select Remove Device.
- Click Aye to confirm the activeness.
iv. How to Stop the Print Spooler Service
If Windows fails to remove the printer with an error, endeavour to stop the Print Spooler service and then remove the printer. Impress Spooler is an essential printer service that communicates the print task betwixt your PC and the printer. All the same, it tin sometimes interfere and prevent you from uninstalling the printer.
To stop the print spooler service:
- Press Win + R to open Run.
- Typeast services.msc and click OK to open the Services snap-in.
- In the Services window, locate the Print Spooler service.
- Right-click on Print Spooler and select Cease.

- Minimize the Services window.
- Now open up the Windows Settings panel, become to Bluetooth & devices > Scanners and Printer, and try to remove your printer device.
- Once the printer is removed, go back to the Services window.
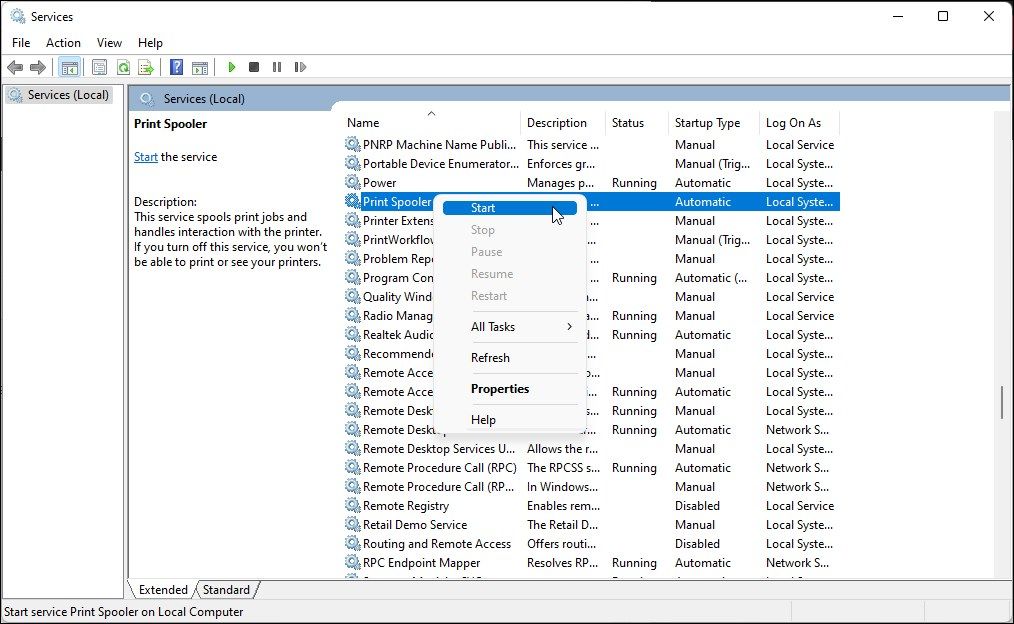
- Correct-click on Print Spooler and select Start.
Restarting the Printer Spooler service is necessary. If disabled, you may encounter the printer spooler service is non running error on your PC.
5. How to Remove the Printer Using Windows' Impress Server Properties
Sometimes, removing the printer device does not remove the drivers completely and can cause your printer to stop working. In such a situation, you tin utilise the Print Server Properties dialog to remove the installed printer drivers.
To uninstall the printer drivers:
- Printing Win + R to open Run.
- And then, type control and click OK.
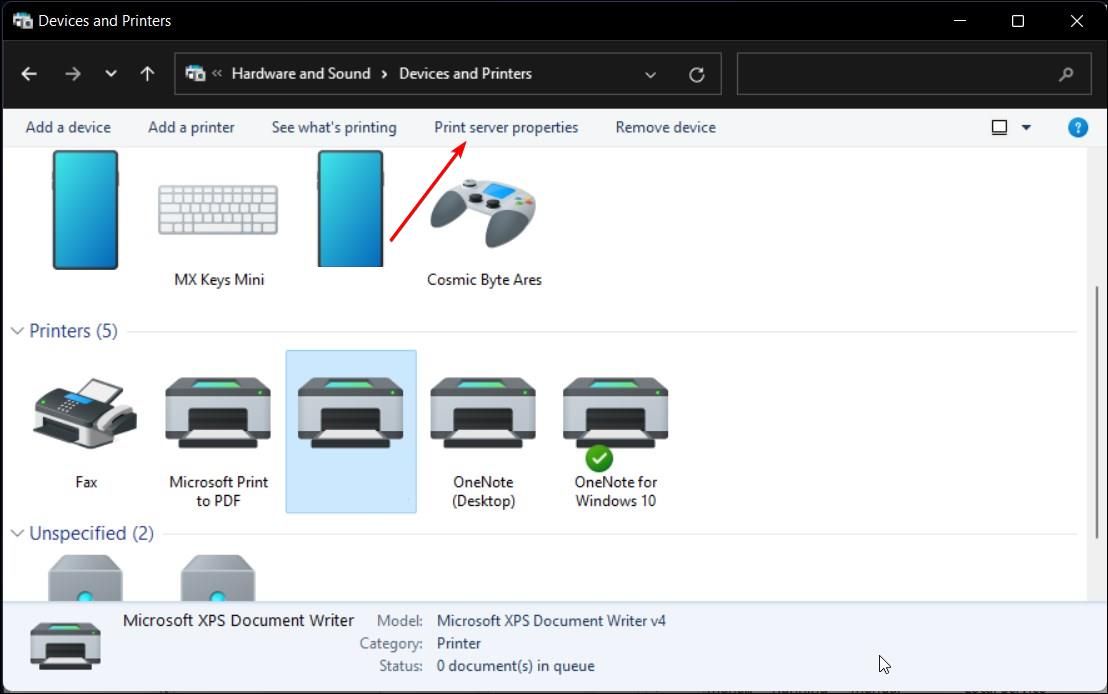
- In the Control Console window, go to Hardware and Sound > Devices and Printers.

- Select whatsoever bachelor printer and click on Impress server properties.
- Open the Drivers tab in the Print Server Backdrop dialog.
- Under Installed printer drivers, select the printer driver to uninstall and click Remove.
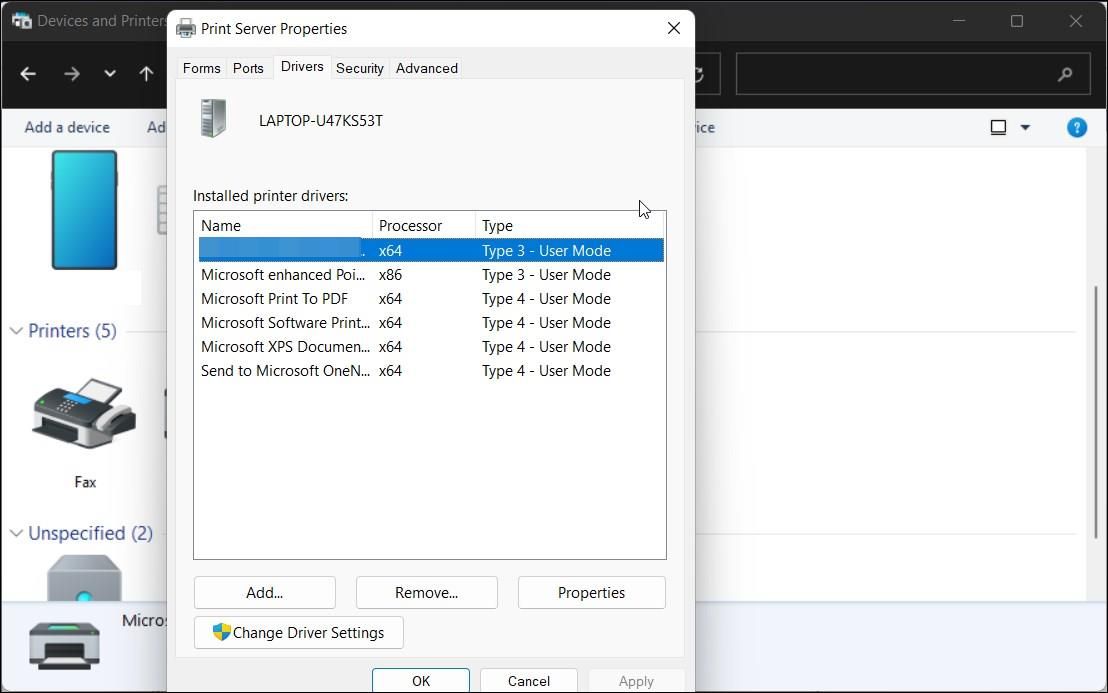
- Side by side, select the Remove driver and driver package pick.
- Click OK to ostend the activity and remove the commuter.
- Restart your PC to consummate the driver removal process.
half dozen. How to Uninstall the Printer Using the Device Manager
Device Director lets you manage all your peripheral and internal devices connected to your system. You lot can use the device manager to troubleshoot your Windows organization, update the driver, add together a new device, and remove continued devices.
To remove the printer using Device Manager:
- Press Win + X to open up the WinX menu.
- Click on Device Manager from the context menu.
- In Device Manager, click on View and select Show hidden devices.
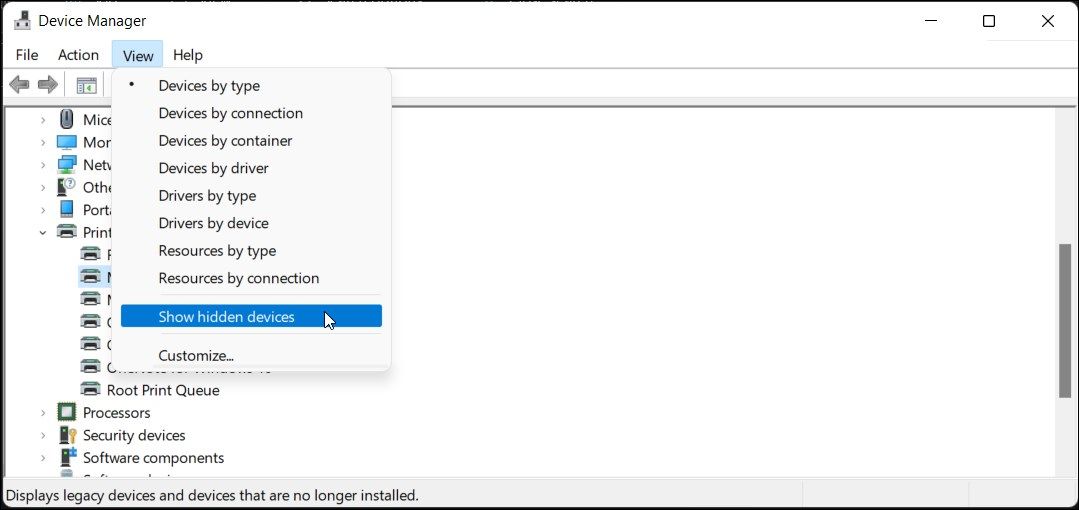
- Next, expand the Printers section to view your printer.
- Right-click on the printer and select Uninstall device.
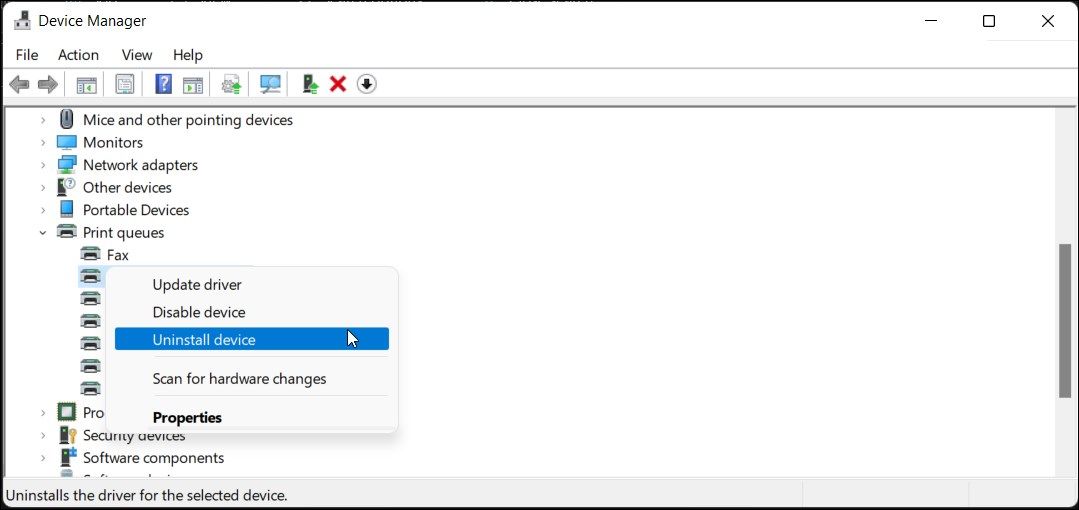
- Select the Delete the driver software for this device pick and click Uninstall.
- If no Printers section is bachelor, aggrandize the Print queues section and repeat the steps to remove the printer.
- Shut Device Manager and restart your reckoner to complete the uninstall procedure.
7. How to Uninstall a Printer Using the Command Prompt
If you prefer to apply Command Prompt over the traditional UI, you tin employ the dl control to delete the printer from your PC.
To uninstall the printer using Command Prompt:
- Press Win and blazon cmd in the Windows search bar.
- Correct-click on Command Prompt option and select Run as administrator.
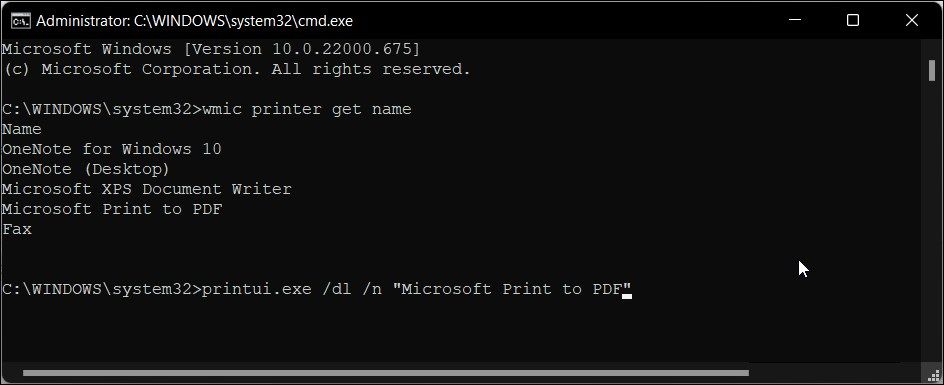
- In the Control Prompt window, blazon the following control to view all the installed printers on your PC:
wmic printer get name - To delete a printer, blazon the following command:
printui.exe /dl /n "Your_Printer_Name" - In the above command, replace Your_Printer_Name with the name of your printer.
- Hit Enter to execute the command.
The Many Ways Remove a Printer in Windows 10 and 11
Yous tin can hands remove a printer in Windows using the Settings console. Nevertheless, if the deleted printer keeps reappearing, you lot tin can use the print server properties, Command Prompt, or delete the printer software to remove the printer completely.

How To Delete Printer From Phone,
Source: https://www.makeuseof.com/windows-remove-printer/
Posted by: guerreromepheculd.blogspot.com
0 Response to "How To Delete Printer From Phone"
Post a Comment